
Over time you’ll learn how to prioritize crucials so your go bag protects you and your loved ones without breaking the bank; assess risks, plan for 72 hours, include water, food, shelter, first-aid, tools, and copies of documents, favor multi-use items and inexpensive DIY solutions, rotate supplies regularly, and tailor contents to your climate, health needs, and bag weight so you carry only what truly matters.
Understanding the Go Bag
Your go bag is a portable survival kit designed to get you out safely and sustain you for the first 72 hours after an evacuation; it prioritizes mobility, vital sustenance, and mission-critical documents. You should build for the most likely local threats-wildfire, flood, blackout-and balance weight against capability, aiming to keep the pack under about 20 lb so you can move quickly while carrying a 72-hour water and food supply, basic medical care, and communication power.
Definition and Purpose
A go bag is a preassembled pack you grab during sudden evacuations, intended to cover immediate needs and reduce decision fatigue under stress. You prepare it to sustain you for roughly three days-most emergency planners use a 72-hour window-so it focuses on hydration (1 gallon per person per day), shelter, first aid, and tools to maintain communication and navigation until help or relief arrives.
Essential Items to Include
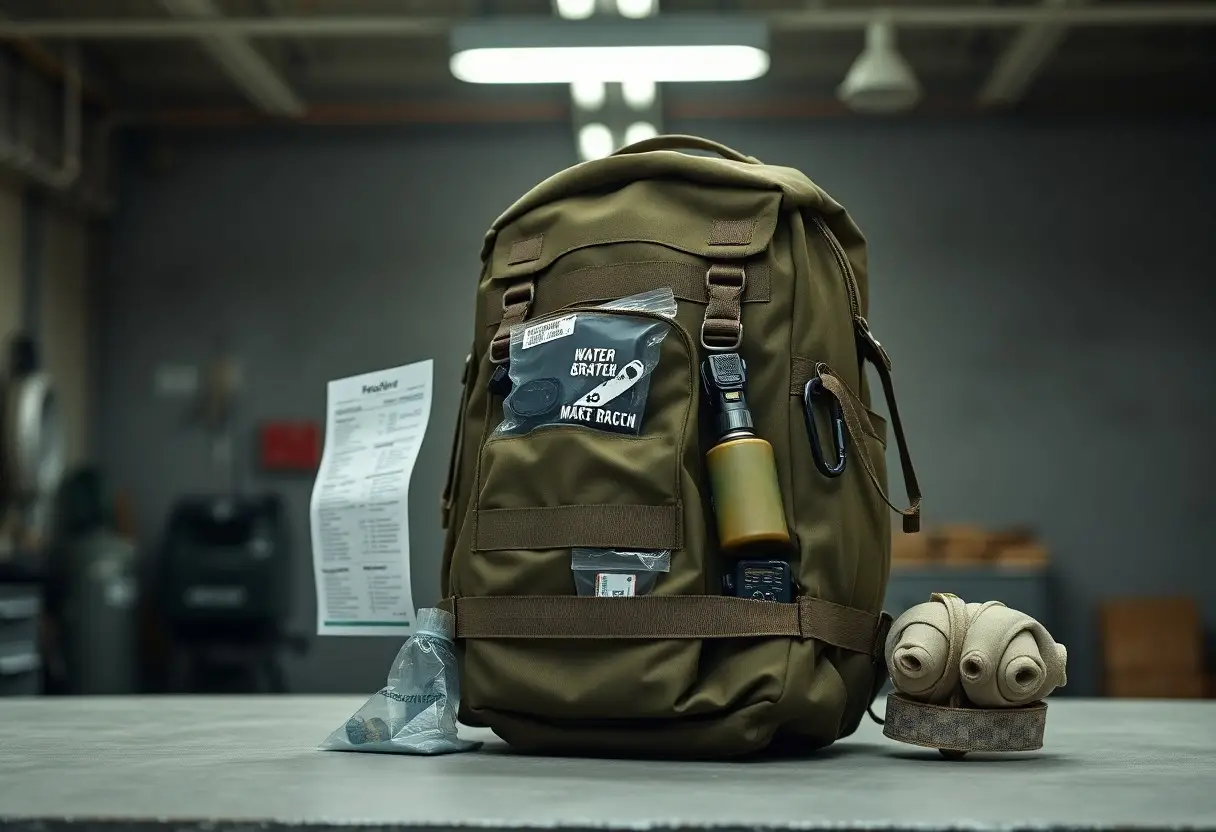
Packed items should include: 3-day water (1 gal/day), nonperishable food (3-day supply, ~2,000 kcal/day), a compact first-aid kit, flashlight with extra batteries, multi-tool, phone charger/power bank (~10,000 mAh), N95 masks, whistle, local hard-copy maps, copies of IDs and insurance, and $50-$100 in small bills. Tailor quantities to household size, include prescription meds for at least 7 days if possible, and keep items in a weather-resistant bag.
When budgeting, prioritize water and meds first, then communication and light sources; inexpensive gains include water purification tablets (~$8/pack) and a basic 10,000 mAh power bank (often $15-$30). For mid-range, add a lightweight emergency blanket and a 20-30-lumen headlamp; higher-end upgrades include a collapsible 1-2 L water bottle, compact filter straw (~$20), and long-shelf-life meals (MREs or freeze-dried, 3-5 year shelf). Rotate perishables every 6-12 months and log expiration dates on a checklist you update annually.
Budgeting for Your Go Bag
When planning your spend, treat your go bag like a short-term emergency budget: aim for a basic kit between $50-$150 to cover 72 hours, a mid-range setup around $200-$400 for better shelter and communications, and $500+ for a comprehensive family kit with higher-end gear. Factor in replacement costs (food, water, batteries) and plan upgrades over 6-12 months so you can spread out expense without sacrificing key items.
Determining Your Budget
Assess your risk profile, household size, and cash flow: you can start as low as $50 for a solo emergency bag, while a family of four should plan $200-$400 to meet water and food needs. Tally crucials first, then add comfort or specialty items. Use a phased purchase plan-buy core items month one and add one or two extras each month-so you avoid a large upfront hit and finish the kit within 3-6 months.
Prioritizing Essential Items
Focus on your water supply (1 gallon per person per day, so three gallons covers 72 hours), compact high-calorie food for 2,000-2,500 calories per person per day, a durable shelter or emergency blanket, a basic first-aid kit, reliable lighting and communication like a headlamp and NOAA radio, plus a multi-tool; prioritize items that sustain life and mobility before comfort or brand-name gear.
You should choose affordable, high-impact items: a Sawyer Mini filter ($25-40) or purification tablets ($8-12) can replace bulky bottled water, MREs cost $3-8 per meal while freeze-dried meals run $6-12, and a $30-60 headlamp outperforms cheap flashlights. Allocate $40-100 for a sturdy 30-40L pack, $20-40 for a robust first-aid kit and training, and consider where to splurge (footwear, shelter) versus save (extra snacks, luxury gear).
Sourcing Supplies
To build a dependable kit without overspending, blend new purchases with used finds and single-use bargain items: a 50 ft roll of paracord costs $8-15, a Mylar emergency blanket runs about $2, and a Sawyer Mini filter lists for $25-40 versus a LifeStraw at ~$20. Take advantage of seasonal sales (REI Garage, Black Friday), outlet sections, and community swaps to shave 30-60% off retail while keeping quality in the 72-hour range.
Where to Buy Affordable Gear
Start at big-box stores like Walmart and Target for basics (batteries, water bottles, Mylar blankets), check Amazon Warehouse, and hunt REI Outlet or Backcountry sales for discounted backpacks. Use Facebook Marketplace, Craigslist, and local gear swaps for used tents and packs; you can find serviceable daypacks for $15-40. Thrift stores and dollar stores are prime for single-use items-N95 masks often $1-3 and basic first-aid items under $5.
DIY Options for Cost Savings
If you’re handy, convert household items into dependable gear: a clean cotton T-shirt can serve as multiple bandages, an old daypack becomes a go bag with reinforced stitching, and unscented household bleach (5-6%) purifies water at roughly 8 drops per gallon for clear water, double for cloudy; boiling water for 1 minute (3 minutes above 6,500 ft) is another low-cost method.
Practical DIY steps include cutting T-shirts into 4-6″ gauze strips, using duct tape to fashion a splint with a magazine and a sturdy board, repurposing small prescription bottles for meds, and sewing internal pouches into a donated backpack; plan on ~10 ft of paracord per bracelet and buy a 50 ft roll for $8-15 to cover lashings, repairs, and tie-downs.
Customizing Your Go Bag
Customize your go bag by matching contents to your environment and daily routines: if you commute by car add a compact booster cable and reflective triangle, if you bike include a spare inner tube and multi-tool, if you live in an earthquake zone add a hard hat and dust masks. Aim for a 72-hour baseline-3 gallons of water per person, copies of IDs and prescriptions, and quick-access cash-and prioritize items that let you move or shelter for those first critical days.
Tailoring to Specific Needs
For infants pack 72 hours of formula, 8-12 diapers, wipes and a travel changing pad; for pets include a 3-day food supply, collapsible bowl and proof of vaccinations; for medication-dependent people carry a 7-day extra supply or at least 72 hours plus prescription copies and an insulated case for temperature-sensitive meds. If mobility is limited, add a lightweight folding stool, extra batteries for mobility aids and contact info for caregivers or emergency contacts.
Seasonal Considerations
Weather changes should determine your kit’s fabrics and weight: winter needs an insulated sleeping bag (rated to at least freezing if you expect subfreezing temps), wool socks, hand warmers and a small shovel; summer requires extra water, SPF 30+ sunscreen, a broad-brim hat and DEET 20-30% insect repellent. Swap heavy items for breathable layers in warm months and prioritize moisture-wicking gear to avoid overheating or hypothermia risk.
If you live where temperatures drop below freezing, upgrade to a 0°C/32°F-rated sleeping bag or add a 4-season bivvy and a 24-hour heat source such as 2-4 chemical warmers; coastal or rainy regions benefit from a waterproof pack liner and quick-dry clothing. In hot climates plan for at least 1 additional liter of water per person per day beyond the standard gallon, and consider evaporative cooling cloths, while high-altitude areas may require oxygen-aware planning or additional warm layers.
Maintenance and Updates
You should set a simple schedule to keep your go bag mission-ready: audit contents every six months, run a quick monthly check of consumables, and test electronics annually. Use a dated inventory list or a phone app so you can see when items were added, rotated, or tested; this reduces guesswork and prevents duplicate purchases while keeping your 72-hour readiness intact.
Regularly Checking Supplies
Inspect water, food, batteries, and medications on a regular cadence: check batteries and flashlights every six months, rotate sealed water and packaged meals annually, and confirm clothing fits seasonally. Cross-check expiration dates, test radio and headlamp functionality, and swap out worn clothing or damaged packaging immediately to avoid surprises during an evacuation.
Replacing Expired Items
Prioritize replacing anything past its printed expiration or within six months of that date: medications, sterile dressings, emergency rations, and water should be first. Mark expiration dates on your inventory list, set calendar alerts 90 and 30 days before expiration, and keep a running shopping list so you can batch replacements and save on shipping or store trips.
Buy replacements strategically: rotate supplies into everyday use (move soon-to-expire canned goods into weekly meals and restock with fresh items), purchase multi-packs when on sale, and consolidate prescriptions to a single pharmacy for refill syncing. Dispose of expired medications through community take-back programs or pharmacy drop-offs, and store new items in waterproof pouches with purchase dates written on them.
Tips for Efficient Packing
When you pack, prioritize items that sustain the first 72 hours: 3 liters of water per person, non-perishable calories for three days, a basic 25-piece first-aid kit, and a dependable light source. Group similar items into labeled, clear pouches and stash high-use gear where you can grab it in under 10 seconds. Recognizing simple decisions-like keeping medications in a front pocket and documents in a waterproof sleeve-cuts retrieval time and stress.
- Pack 3 liters water per person in collapsible bottles
- Keep one-day grab items (phone charger, keys, meds) in the top pocket
- Use clear zip pouches for batteries, toiletries, and meds
- Include a laminated inventory card with expiration dates
Space-Saving Techniques
Roll clothing tightly and use compression sacks or vacuum bags to reduce volume by up to 60%; a compression sack can shave a sleeping bag from 10L to 4L. Choose multi-use items-a bandana serves as a filter, tourniquet, and towel-and swap glass containers for lightweight poly. Limit duplicate bulky items: one insulated jacket plus a fleece layer often replaces two heavy coats while saving several liters of pack space.
Organizing for Easy Access
Place frequently used items-medications, flashlight, whistle, and a compact first-aid kit-in top or front pockets so you can retrieve them without unpacking. Use color-coded or numbered pouches and attach a laminated inventory to the lid of the main compartment to speed visual searches. Schedule a quick access check monthly to confirm placement and expirations.
For more detail, test your layout in a drill: time yourself locating a specific item, then rearrange to cut that time in half. Many people reduce access time from over a minute to under 10 seconds by moving high-priority items to a dedicated exterior pocket and marking pouches with bold labels; rotating items monthly keeps counts accurate and prevents expired supplies from clogging prime space.
Final Words
Conclusively, you can assemble a dependable go bag on any budget by prioritizing versatile, high-quality basics, testing and rotating supplies regularly, and tailoring items to your needs. With planning, practice, and incremental upgrades, your preparedness grows without breaking the bank.