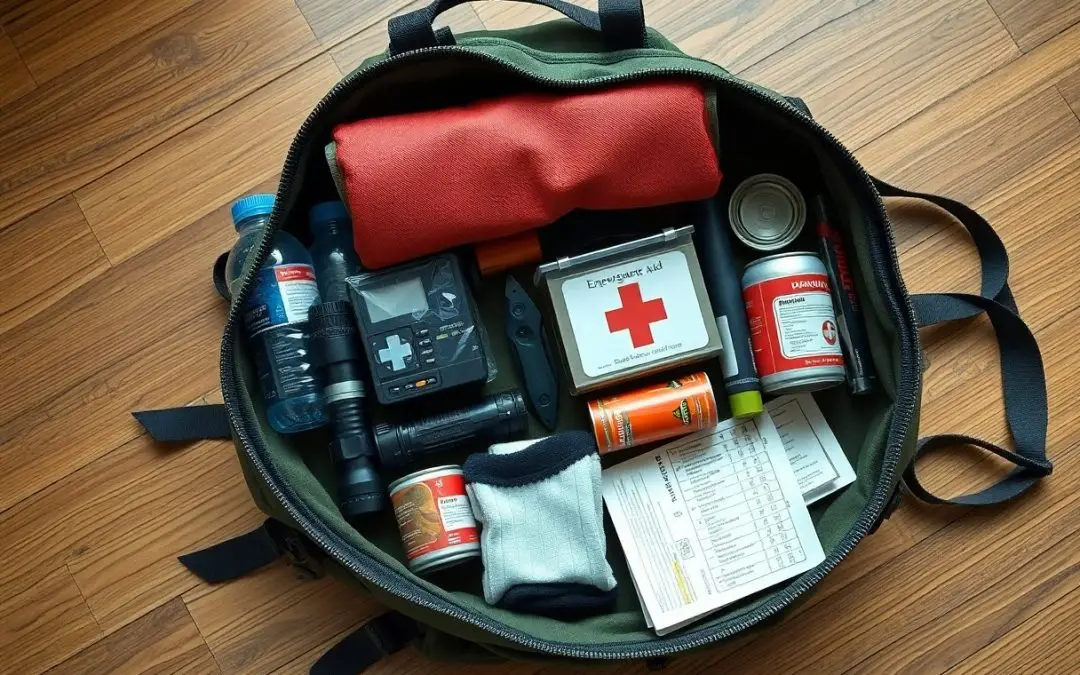
With a well-packed go bag, you give yourself immediate options during emergencies; this guide tells you what crucials to pack, how to prioritize items, and how to maintain readiness so you can act quickly and confidently when disaster strikes.
Key Takeaways:
- Pack water and nonperishable food for 72 hours, plus a water filter or purification tablets.
- Include a first-aid kit, prescription medications, copies of important documents, and cash in small bills.
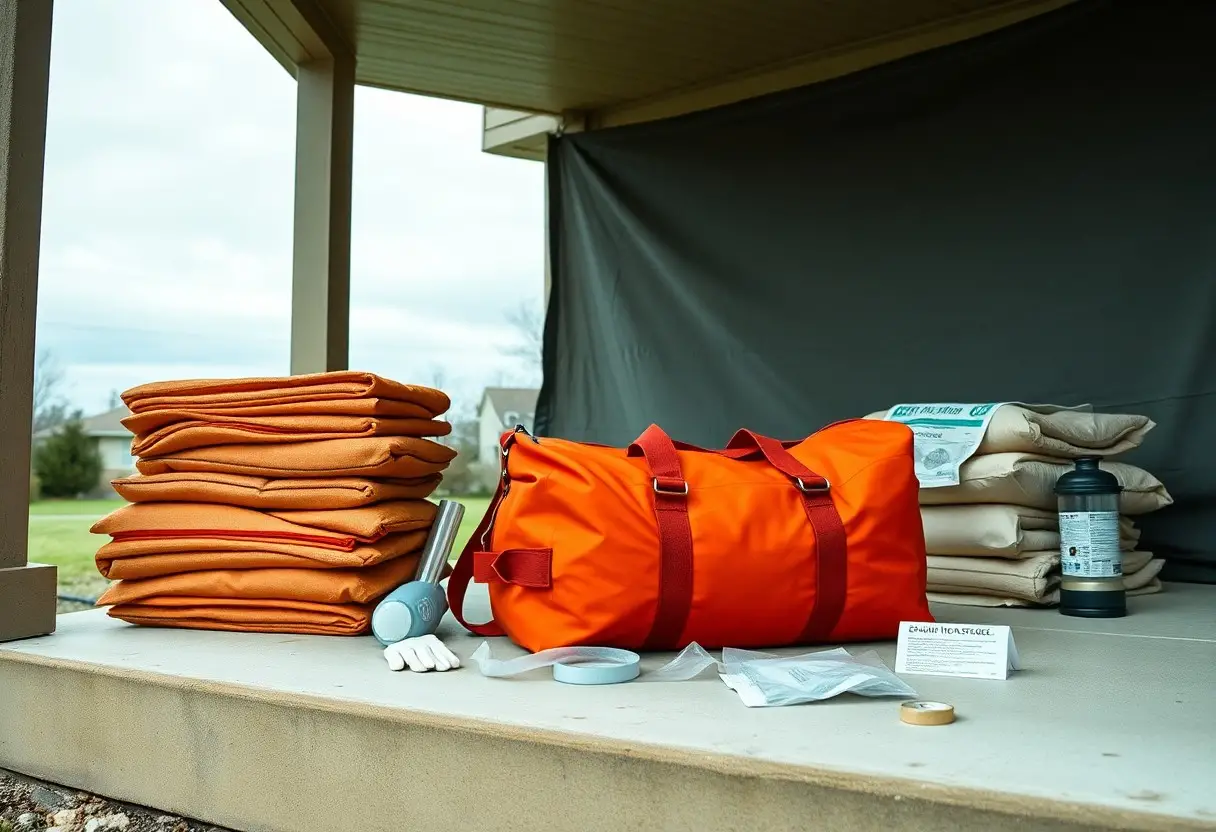
- Choose a durable, weatherproof backpack sized for quick evacuation and distribute weight for comfort.
- Add communication and power items: a battery-powered or hand-crank radio, spare batteries, and a portable charger with extra cables.
- Customize the bag for local hazards and family needs, and rotate or test supplies every six months.
Core Philosophy of the 72-Hour Kit
Your 72-hour kit focuses on immediate survival needs so you can stay safe and mobile until help arrives or you reach a more stable situation. You prioritize water, food, shelter, first aid, and communication tools that are easy to grab and use under stress.
Pack multi-use items that reduce bulk while covering common scenarios, and tailor quantities to your household size and special needs. You plan for redundancy of the most important items and rehearse quick access to them.
Defining the Survival Window
Designating three days gives you a clear operational goal: stabilize injuries, prevent dehydration, maintain warmth, and reestablish contact. You select supplies that bridge immediate needs until external aid, evacuation, or self-relocation becomes viable.
Expect variability depending on the hazard and your location; urban outages differ from remote incidents. You include importants like water treatment, concentrated calories, shelter, and a simple communication plan to reduce decision fatigue.
Balancing Mobility and Utility
Choose a pack and item list that lets you move quickly without sacrificing core capabilities; you should be able to carry it comfortably for distances you might need to travel. You prioritize ease of access to first aid and navigation aids.
Think about trade-offs between weight and self-sufficiency, and aim for modularity so you can adjust load for different scenarios. You focus on items that serve multiple functions and avoid single-use luxuries.
Test your kit with short hikes and timed drills to learn what you actually use and how weight affects your pace; you refine contents based on performance data rather than assumptions.
Hydration and Nutritional Security
Pack one gallon of water per person per day for at least three days, increasing for heat or medical needs. Store water in food-grade, BPA-free containers kept cool and out of direct sunlight. You should also include electrolyte packets and compact water pouches for short-term portability.
Stock calorie-dense, nonperishable foods you can eat without cooking, such as energy bars, nut butters, canned fish, and dehydrated meals. You should prioritize variety to avoid taste fatigue and pack a manual can opener, utensils, and airtight, pest-resistant storage.
Water Purification and Storage Solutions
Boil water for a full minute at a rolling boil (longer at elevation) when fuel and time allow. You should carry a lightweight stove and metal pot as redundancy for situations where filtration fails.
Filter pumps and hollow-fiber filters remove bacteria and protozoa, while UV pens inactivate viruses when used correctly; chemical tablets provide a compact backup. You should treat and relabel storage bottles and keep a few spare caps and funnels for safe transfer.
High-Calorie Emergency Rations
Choose high-calorie rations like MREs, freeze-dried meals, and dense bars that offer 300-700 calories per serving to sustain activity during extended emergencies. You should check macronutrient balance to ensure adequate protein and fat for longer endurance.
Include ready-to-eat items with long shelf life-nuts, nut butters, vacuum-sealed jerky, and calorie bars-and test them beforehand so you know what you can tolerate under stress. You should store these in airtight, cool locations away from pests.
Rotate supplies every six to twelve months, using older items for camping or daily use to prevent waste, and keep a simple inventory with calorie totals so you can plan meal needs for different durations and activity levels.
Shelter and Environmental Protection
Shelter selection should prioritize quick-deploy options like a tarp, compact tent, or emergency shelter that block wind and precipitation while allowing ventilation. You should choose materials that balance durability with pack weight so you can set up fast in poor conditions.
Pack cordage, stakes, and a small repair kit to adapt shelter layouts to terrain and group size. You should also include a reflective emergency blanket and a compact ground pad to reduce heat loss from the ground.
Weather-Appropriate Apparel and Layering
Layering lets you control moisture and temperature: a moisture-wicking base, insulating midlayer, and waterproof breathable shell provide flexibility across conditions. You should prioritize quick-drying fabrics and avoid cotton for prolonged exposure.
Insulation choice affects performance when wet-synthetic retains warmth when damp, while down offers superior warmth-to-weight in dry scenarios. You should pack an extra insulating layer you can add at night or during extended rest.
Emergency Sleep Systems and Bivvies
Bivvies and emergency shelters provide a lightweight barrier against wind and precipitation; pair them with a sleeping bag rated slightly below expected nighttime lows. You should favor taped seams and durable fabrics for repeated use.
Sleeping bag selection balances temperature rating, weight, and compressibility-mummy bags conserve heat, while rectangular bags offer more room but bulk. You should test sleep systems ahead of time to verify warmth and fit.
Packable bivvies and insulated pads save space and increase survivability by preventing conductive heat loss to the ground; closed-cell foam pads resist punctures and perform reliably. You should rehearse fast deployments so you can secure restorative sleep under stress.
Essential Tools and Communication
Your go bag should include durable signaling and comms gear: a hand-crank or battery radio, a fully charged power bank, extra batteries, a compact whistle, and a paper list of emergency contacts and local frequencies. Store documents in a waterproof pouch and add a small notebook with brief instructions to use when devices fail.
Plan for layered communication: assign primary and backup contacts, set a nearby meeting point, and agree on simple check-in signals. Carry pre-written SMS templates and emergency numbers so you can act quickly when networks are congested or power is out.
Multi-Functional Hardware and Lighting
Pack a quality multi-tool and a sturdy folding knife to handle repairs, shelter tasks, and food prep. Add a compact saw or wire cutters if you expect debris or light construction work so you can address common problems without bulky gear.
Carry both a hands-free headlamp and a high-lumen flashlight for distance tasks; choose models that accept rechargeable and disposable batteries. Include spare cells, a small solar charger or power bank, and a hand-crank light to preserve visibility when grid power is unavailable.
Analog Navigation and Signaling Devices
Include a reliable compass and up-to-date paper maps of your area so you can find routes without electronics. Pack a signal mirror, chemical light sticks, bright flagging tape, and a durable whistle to attract attention when needed.
Keep these items accessible and practice using them: learn basic compass bearings, how to read contour lines, and standard distress signals like three whistle blasts or mirror flashes. Store maps and vital papers in waterproof sleeves so they remain usable after exposure.
Use topographic maps at 1:24,000 or 1:50,000 scale for detailed routing and mark evacuation corridors with a waterproof marker; choose a lensatic or liquid-filled sighting compass for better accuracy. Prefer non-pyrotechnic signals in crowded areas and reserve flares for open locations where legal and safe to deploy.
Critical Documentation and Financial Assets
Store paper copies of passports, birth certificates, insurance policies, wills, and property deeds in a waterproof folder inside your go bag so you can access them immediately after an evacuation.
Scan and encrypt digital versions on a small USB drive and a secure cloud account linked to a trusted contact, and verify you can retrieve those files from another device before you need them.
Secure Storage of Vital Records
Use a compact fireproof, waterproof pouch for originals kept at home and include certified copies in your go bag; update the pouch after any legal changes and keep an indexed checklist so you know what’s inside.
Emergency Cash and Liquid Reserves
Keep at least enough cash for 72 hours-small bills and coins work best-and store it in a discreet, waterproof sleeve that you can grab when power or ATMs fail.
Carry alternative payment options too, such as a backup debit card stored separately and a prepaid card for short-term needs, so you’re not dependent on one method.
Consider splitting funds between family members and using hidden compartments or a money belt for travel; review your cash reserve after major events like moves, job changes, or extended travel.
To wrap up
Now you know what a go bag should hold: water, nonperishable food, a first-aid kit, flashlight and batteries, a battery-powered radio, copies of documents, cash, extra clothing, and prescription medicines.
You should inspect and update contents every six months, customize items for children or pets, and position the bag where you can grab it and go during an evacuation.
FAQ
Q: What is a go bag and how long should its supplies last?
A: A go bag is a compact, portable emergency kit designed for rapid evacuation or survival during the first hours or days after a disaster. Standard guidance calls for enough supplies for at least 72 hours per person, including one gallon of water per person per day and nonperishable food for three days. The 72-hour window covers immediate needs until emergency services or longer-term support become available.
Q: What specific items should be included in a basic go bag?
A: Water: one gallon per person per day for three days in sealed containers. Food: three days of ready-to-eat, nonperishable items and a manual can opener if needed. Shelter and warmth: an emergency blanket or sleeping bag, lightweight tarp, poncho, and a change of clothing plus sturdy shoes. Medical and first aid: a well-stocked first aid kit, any prescription medications (three-day supply), copies of prescriptions, and basic over-the-counter meds. Tools and light: multi-tool, duct tape, waterproof matches or lighter, LED flashlight with extra batteries, and whistle. Communication and power: battery-powered or hand-crank radio, fully charged power bank, and extra phone cables. Documents and cash: photocopies of IDs, insurance papers, emergency contacts, and small-denomination cash. Hygiene and sanitation: moist towelettes, toilet paper, hand sanitizer, toothbrush, and feminine supplies. Special items: eyeglasses, spare hearing aid batteries, infant formula/diapers if needed, and pet food/supplies for pets.
Q: How should I customize a go bag for infants, elderly family members, pets, or people with disabilities?
A: For infants include formula, bottles, diapers, diaper disposal bags, and a familiar blanket or toy. For elderly family members pack a larger supply of prescription medications, mobility aids or backups, cushion or incontinence supplies, and easy-to-open packaging. For people with disabilities include backup batteries for assistive devices, documentation of medical needs, and contact info for caregivers or providers. For pets include three days of food, water, leash or carrier, vaccination records, and any medications. Label specialized supplies and store them together so the right bag can be grabbed quickly.
Q: Where should I store my go bag and how often should I check or replace items?
A: Store the go bag in a designated, easily accessible location near a primary exit and keep a second bag in your vehicle if evacuation by car is likely. Inspect the bag every six months: check expiration dates on food and medications, rotate out expired items, test and replace batteries annually, update contact lists and copies of documents yearly, and recharge power banks after use. Conduct a family grab-and-go drill at least once a year to confirm everyone knows the bag location and contents.
Q: What actions should I take with my go bag during and after a disaster?
A: During an evacuation grab the go bag first and follow official evacuation routes and local emergency instructions. If sheltering in place use supplies to maintain warmth, hydration, and communication; conserve water and food by rationing. Use a battery radio or power bank to receive updates and send brief status texts to reduce phone network congestion. After the immediate threat passes check for injuries and apply first aid or seek medical help, document property damage with photos for insurance, and avoid re-entering structurally unsafe buildings until authorities declare them safe.