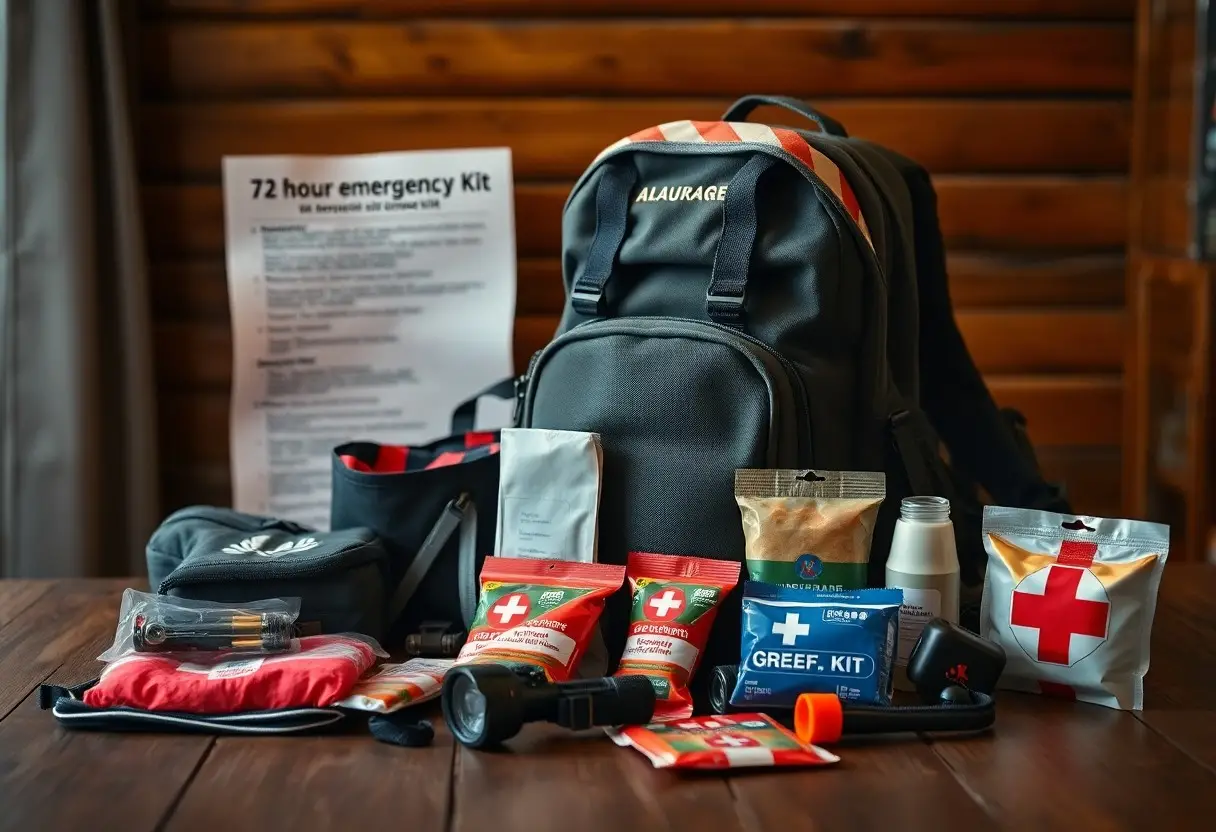
There’s no telling when a disaster might strike, making it imperative for you to be prepared with a well-stocked 72-hour emergency kit. This comprehensive guide will empower you to gather the necessary supplies and imperative tools that will keep you and your loved ones safe during challenging times. By following these straightforward steps, you can create a customized emergency kit tailored to your specific needs, ensuring you’re ready for anything life throws your way.
Understanding the Importance of a 72-Hour Emergency Kit
Having a 72-hour emergency kit is crucial for ensuring your safety and well-being during a disaster when basic services may become unavailable. In emergencies, you may be on your own for several days, and having your supplies readily accessible can significantly enhance your resilience. This kit should include food, water, medical supplies, and crucial personal items, enabling you to respond effectively to a variety of situations, whether natural disasters or man-made crises.
Why You Need an Emergency Kit
An emergency kit provides you with the necessary resources to sustain yourself and your family in the aftermath of a disaster. When crises strike, stores may be closed, and services disrupted, leaving you without immediate access to life-sustaining items. A well-prepared kit helps you feel secure, knowing that you’ve planned for unexpected events, empowering you to focus on safety and recovery.
Common Disasters to Prepare For
Earthquakes, hurricanes, floods, and wildfires are some common disasters that can strike with little warning. Each of these scenarios presents unique challenges, making it vital to tailor your emergency kit according to the specific risks in your area. Additionally, consider preparing for man-made emergencies, such as terrorist attacks or chemical spills, which, though less common, can also occur without much notice.
For instance, if you live in a hurricane-prone zone, your kit should include waterproof items and supplies to address potential flooding. In contrast, those in earthquake regions may want to focus on sturdy emergency supplies that can withstand building collapses. Understanding the specific disasters that are most likely to affect your community allows you to build a kit that meets your needs effectively. Always review local emergency preparedness guidelines for additional context and recommendations designed for your situation.
Essential Items for Your Emergency Kit
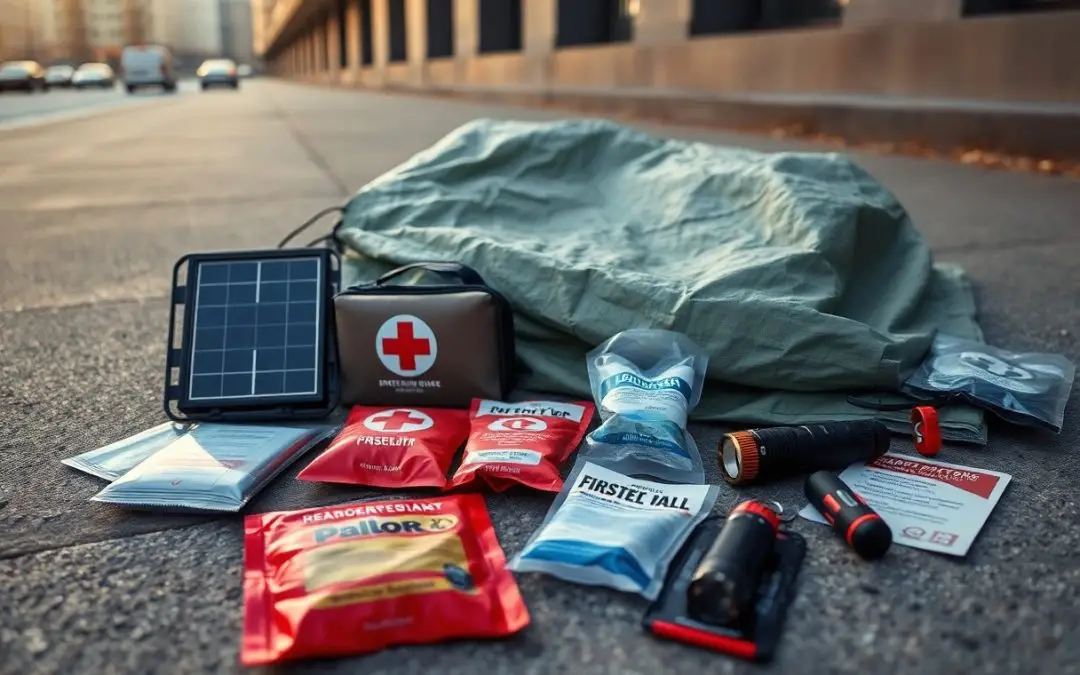
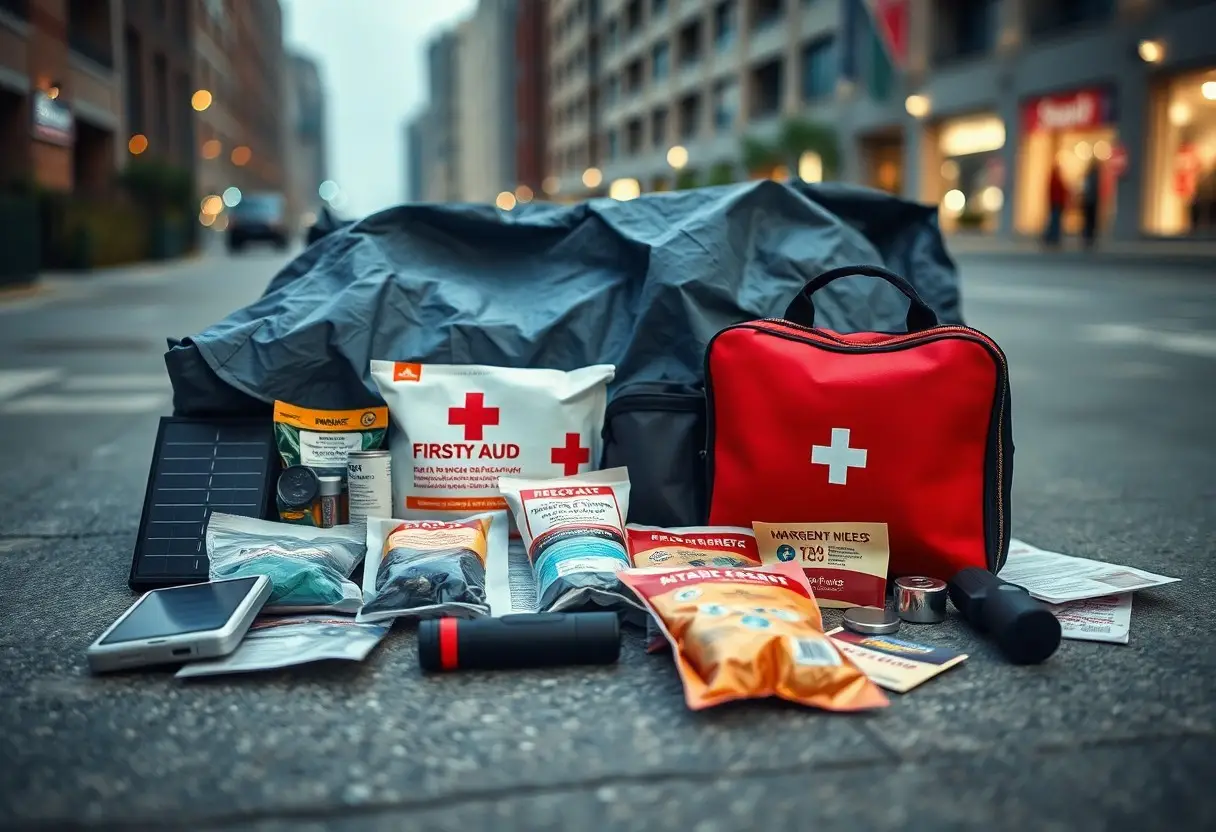
Your emergency kit should include a variety of necessary items to ensure you can effectively manage a disaster situation. Building a well-rounded kit covers basic needs like food, water, first aid, and more, allowing you to remain self-sufficient for at least 72 hours. Prioritizing multipurpose and long-lasting items will provide the best foundation for your kit.
Food and Water Supplies
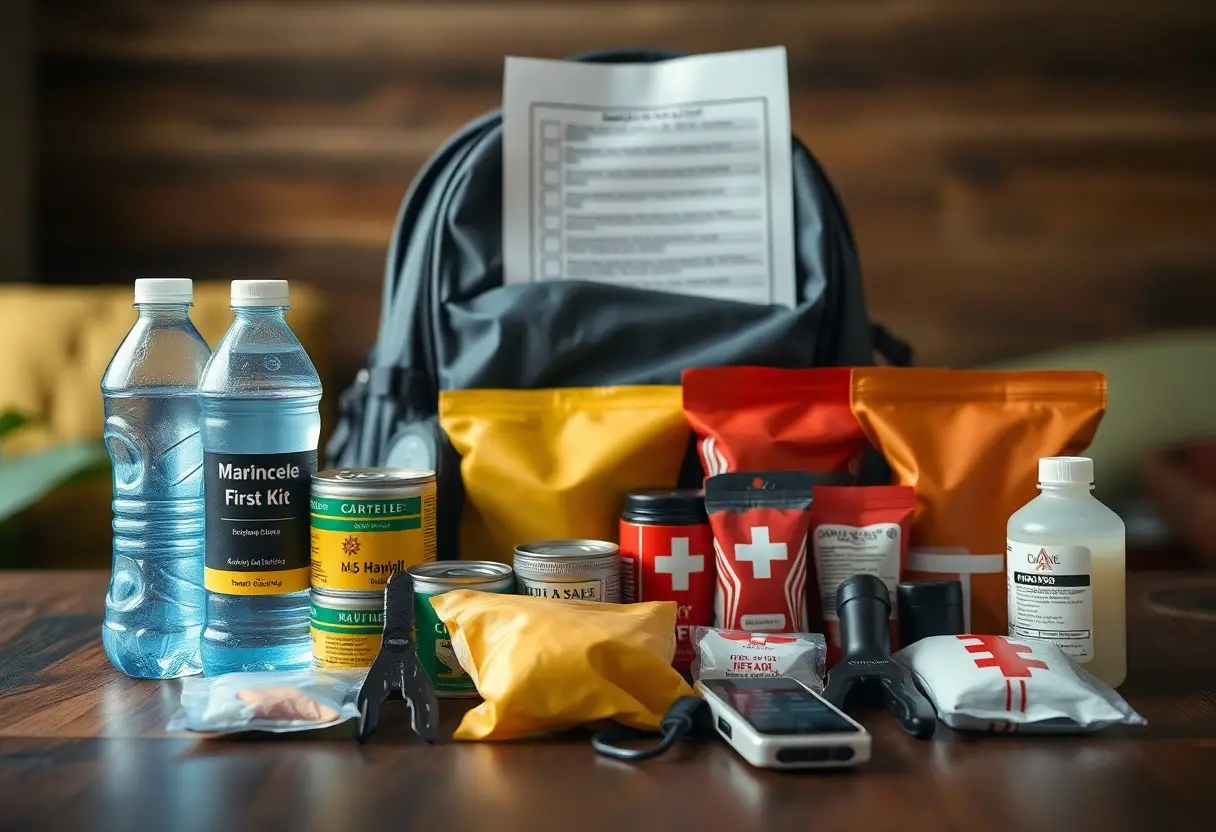
Stock your kit with at least one gallon of water per person per day for three days, alongside non-perishable food items. MREs (Meals Ready-to-Eat), energy bars, dried fruits, and canned goods are excellent choices, as they require minimal preparation and have long shelf lives. Additionally, store a manual can opener to access your food supply easily.
Medical and First Aid Supplies
A well-stocked first aid kit is necessary for treating injuries and managing health concerns during an emergency. Include adhesive bandages, antiseptic wipes, gauze, adhesive tape, scissors, and a thermometer. Also, consider adding a supply of any prescription medications you or family members may require, along with a list of allergies and medical conditions.
Additionally, consider packing over-the-counter medications such as pain relievers, antihistamines, and stomach remedies to address common ailments. A CPR face shield and a basic first aid manual can enhance your preparedness for medical emergencies. Regularly check and replenish your kit, and ensure that all items are within their expiration dates for effective use when needed.
How to Custom Tailor Your Kit
Assessing Individual Needs and Factors
To build a kit that meets your specific needs, start by evaluating personal factors such as family size, ages, health conditions, and any dietary restrictions. Consider the type of disasters likely in your area, such as earthquakes, floods, or hurricanes, and plan accordingly. Address these factors:
- Health concerns and medication
- Children’s needs, including diapers
- Pet supplies if you have animals
- Specific tools and equipment for your environment
After assessing these elements, you’ll have a clearer picture of what to include in your kit.
Adding Personal and Comfort Items
Incorporating personal and comfort items into your emergency kit can significantly ease stress during a disaster. Think about including items that bring familiarity, such as family photos, small toys for children, or comfort items like blankets and pillows. These items can help maintain a sense of normalcy when faced with a chaotic situation.
When you’re in a crisis, emotional well-being is just as important as physical safety. Comfort items, like a favorite book or a portable game, can provide distraction and a mental lift. Tailoring your kit to include these personal touches ensures that you have not only the crucials for survival but also tools for coping with the emotional strain that can accompany emergencies. Prioritize items that resonate with you and your family’s unique preferences and experiences, fostering a sense of safety and comfort in an uncertain time.
Tips for Effective Organization
Organizing your emergency kit ensures you can quickly access necessary items when needed. Group similar supplies together and label containers for easy identification. This will make it simpler for you and your family to find what you need under stress.
- Use waterproof bags for important documents.
- Keep a checklist of contents to track items.
- Store items in a durable, easily transportable backpack.
- Divide supplies into categories, like food, first aid, and tools.
This organization method maximizes efficiency during emergencies.
Best Practices for Packing Your Kit
When packing your kit, prioritize lightweight and compact items to maximize space. Choose multi-purpose tools and supplies, such as a Swiss Army knife, to reduce bulk. Arrange items by frequency of use, placing emergency food and water at the top for quick access.
Rotating Supplies and Keeping Items Updated
Regularly check your kit to ensure items are current and effective. This includes food expiration dates and batteries for flashlights. Update your kit in line with seasonal changes, adding items like winter clothing or summer hydration products as necessary.
Rotating supplies helps avoid surprises during an emergency when you need your kit most. Establish a schedule, such as every six months, to inspect and refresh your supplies. Document any changes made to your kit, ensuring you can quickly pinpoint when items were replaced or updated. Familiarize yourself with the updated contents and consider additional training in using tools included in your kit to enhance your readiness further.
Maintaining Your Emergency Kit
Regular maintenance of your emergency kit is vital to ensure its effectiveness during a crisis. Check the contents periodically to confirm that items are in usable condition, ensuring your kit remains reliable whenever you need it. This practice keeps your supplies fresh and up to date, minimizing the risk of relying on expired or damaged items when it matters the most.
Regular Check-ups
Schedule regular check-ups of your emergency kit at least twice a year. During these reviews, inspect food and medical supplies for expiration dates, refresh water supplies, and replace any items that may have been used. This proactive approach ensures that you are always prepared and aware of the condition of your kit.
Updating for Seasonal Changes
Adjust your emergency kit according to seasonal changes to address specific risks associated with each season. For example, include additional warm clothing and blankets in colder months and ensure your kit has plenty of water and cooling supplies during the warmer months. Tailoring your kits to seasonal demands increases your overall preparedness.
When updating for seasonal changes, consider local weather patterns and potential disasters that often occur during certain times of the year. For instance, if you live in an area prone to hurricanes, ensure your kit includes items such as a battery-powered radio and extra batteries during hurricane season. Similarly, in winter, pack a snow shovel, ice scraper, and salt for walkways. This thoughtful approach enhances your readiness for emergencies that can occur at various times throughout the year, making you more resilient when facing unpredictable conditions.
Tips for Quick Assembly
When assembling your emergency kit, efficiency is key. Start by gathering crucial supplies in one location. Prioritize items based on urgency and frequency of use. Organize everything in a sturdy, portable container. Label your bins for quick identification, and conduct regular checks to replace expired items. Ensure you have easy access to important documents. This approach minimizes stress and maximizes your preparedness during an emergency. Any thoughtful arrangement saves you time when it truly counts.
Using Pre-made Kits vs. Custom Builds
Pre-made kits offer convenience and a comprehensive range of supplies for various emergencies. However, custom builds allow you to tailor contents specifically to your needs and preferences. By choosing items that cater to your location, family size, and personal health requirements, you create a more effective emergency response. Weigh your options carefully; both approaches can be effective when executed properly.
Checklist for Rapid Packing
A rapid packing checklist streamlines your preparation process. Focus on core crucials: water, non-perishable food, first aid supplies, flashlight, batteries, and hygiene items. Additionally, include clothing, personal documents, and any necessary medications. This organized list not only saves time but ensures you don’t overlook vital items.
A comprehensive checklist for rapid packing allows you to gather all necessary supplies swiftly, ensuring you’re well-prepared. Divide your checklist into categories for easy reference—one for food and water, another for medical supplies, and a third for important documents and personal items. By having a detailed list, you can avoid panic-induced oversights, ensuring that your emergency kit is both complete and efficient. Practice assembling your kit periodically based on this checklist, which will help you develop speed and familiarity, making the process smoother during actual emergencies.
Summing up
Ultimately, assembling the perfect 72-hour emergency kit involves assessing your unique needs, including crucial supplies like water, non-perishable food, first aid items, and communication tools. Tailor your kit based on your environment and potential disasters, ensuring that it’s easily accessible and regularly updated. Regularly check and replenish expired items to maintain readiness. By investing time in this preparation, you empower yourself and your loved ones to navigate emergencies with greater confidence and safety.