Preparedness starts with choosing a go bag that matches your routines, climate, and local hazards; this guide tells you what size, tools, and supplies to include so you can act quickly and confidently.
Key Takeaways:
- Local hazards: Identify the most likely threats in your area (earthquake, flood, wildfire, extreme cold) and tailor gear to those risks.
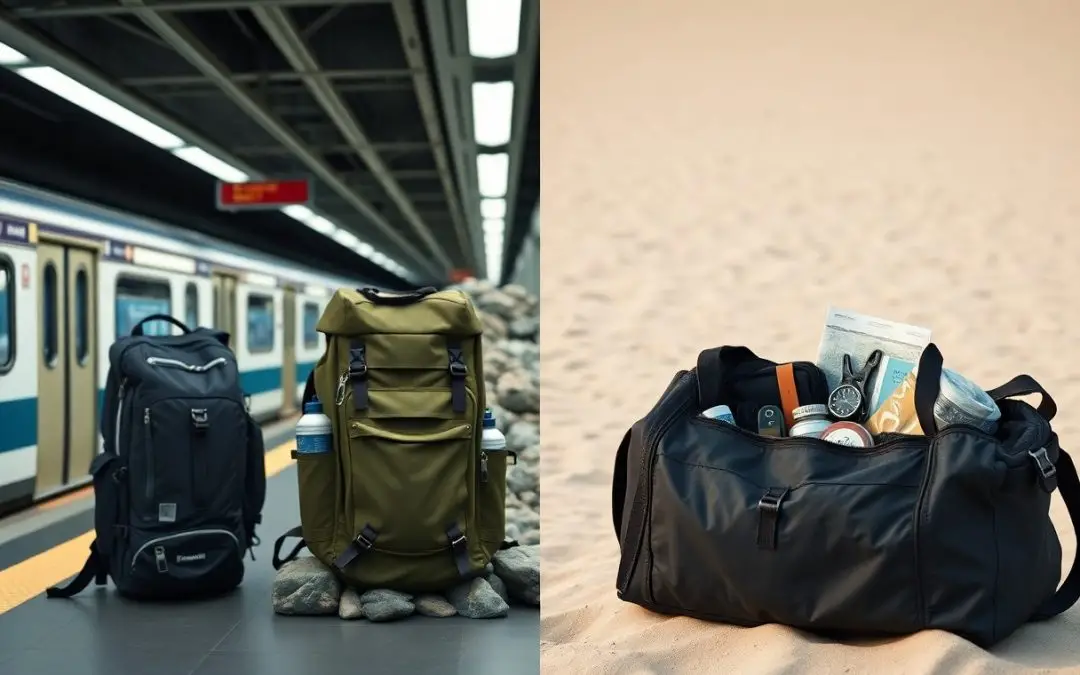
- Lifestyle needs: Match kit type to daily routines-compact commuter bag for short evacuations, larger bug-out pack if you must travel on foot for hours.
- Bag size and weight: Choose a carryable pack and favor lightweight, multi-use items to keep load manageable for the expected distance and duration.
- Essential categories: Include water, food, shelter, first aid, communication/power, important documents, season-appropriate clothing, and prescriptions.
- Maintenance and drills: Rotate perishable supplies, recharge batteries, update documents, and practice packing/carrying to find and fix weaknesses.
Analyzing Key Geographic and Environmental Factors
Assess regional hazards and terrain so you choose capacity, water filtration, and shelter suited to where you travel.
- urban density and access
- terrain and elevation
- seasonal weather patterns
- remoteness and rescue access
Perceiving local threats helps you prioritize items like lighting, communication, or insulation for seasonal extremes.
Urban vs. Wilderness Survival Requirements
You should favor low-profile packs, compact water solutions, and tools for crowd and transit disruptions when you live in the city.
Wilderness outings require larger capacity, lightweight shelter, and durable cooking and navigation gear you can carry for miles.
Climate-Specific Durability and Materials
Choose fabrics with water resistance and quick-dry properties if you face frequent rain so your kit stays functional.
Select breathable, UV-resistant materials in hot, sunny regions and insulated linings where cold is common so you maintain comfort.
Consider reinforced seams and abrasion-resistant panels if you encounter brush or rocky terrain so you avoid premature wear on importants.
Aligning Bag Volume with Your Daily Routine
Match your bag volume to what you carry daily: if you routinely tote a laptop, charger, water bottle and a light jacket, aim for 15-20L; adding gym gear or camera equipment pushes you toward 25-30L.
Assess how often you swap between commuting, errands and weekend trips so you can choose a single bag or a small rotation that avoids wasted capacity while covering all typical days.
Commuter-Friendly Minimalist Options
For short urban commutes, prioritize slim profiles, quick-access pockets and padded tech sleeves so you can grab importants without unpacking the main compartment.
Choose lightweight, water-resistant fabrics and internal organizers that keep everyday items tidy while staying compact during peak transit times.
Multi-Day Sustainment for Remote Locations
Pack a minimum three-day supply of food, water treatment, layered clothing and a compact sleep system when heading into remote areas; plan for 35-50L based on climate and terrain.
Store heavier items close to your back and low in the pack to preserve balance on long carries, and test the fully loaded bag on a short hike before committing to a route.
Consider replacing single-use gear with multi-purpose items-a jacket that doubles as a pillow or a pot that nests with dishes-and include spare batteries, repair tools and redundant navigation aids so you can sustain yourself longer if resupply is uncertain.
How-to Determine Structural Quality and Hardware
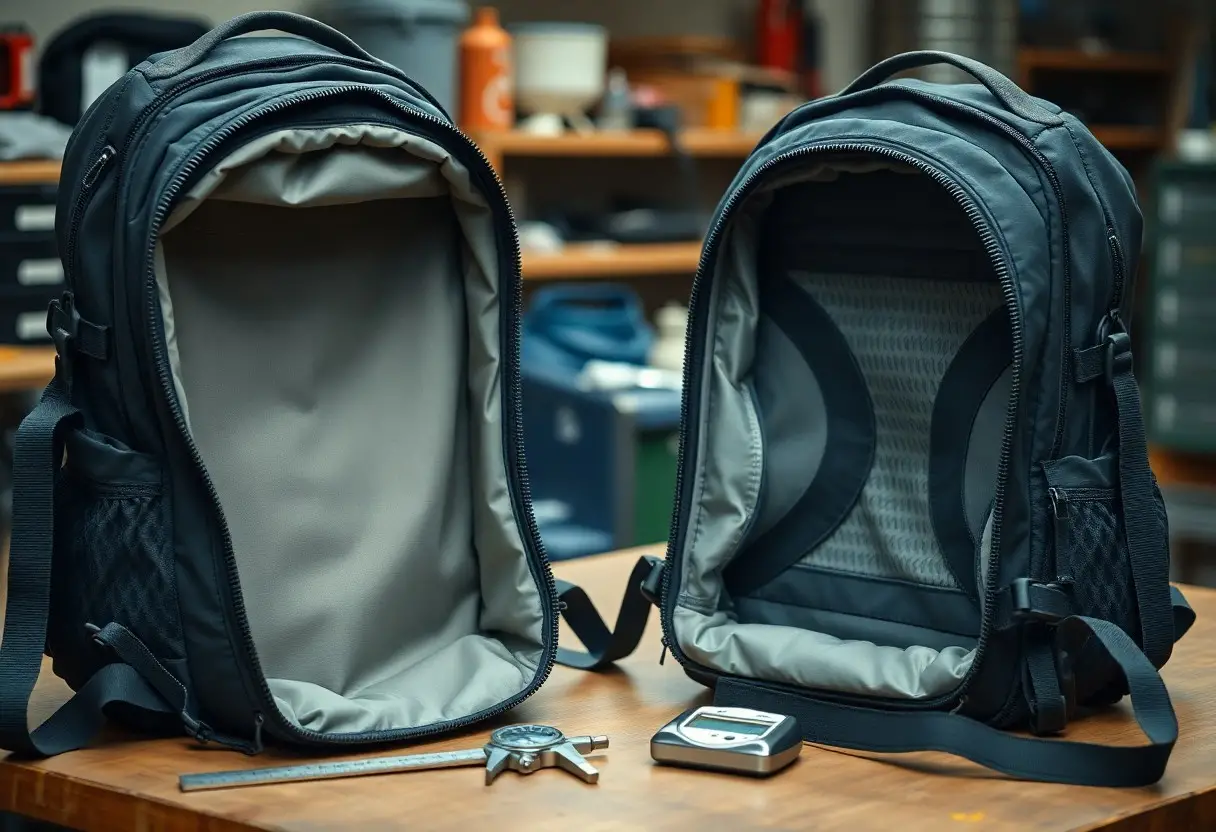
Check the frame, padding, and load-bearing points by filling the bag and shifting weight; you should feel even distribution and no soft spots where load concentrates, indicating internal support and durable construction.
Test handles, shoulder straps, and compression straps by tugging and loading the pack; you want reinforced attachment points, quality buckles, and padding that maintains shape under use so the bag performs reliably.
Inspecting Stitching, Zippers, and Fabric Denier
Inspect seams for tight, even stitching and bar-tacks at stress zones; you should look for skipped stitches, loose threads, or puckering that signal weak construction. You can run a finger along zippers to ensure smooth operation and check denier ratings-higher denier for abrasion resistance in rough environments.
Selecting Between Low-Profile and Tactical Designs
Choose low-profile packs when discretion and blending into civilian settings matter, and opt for tactical designs if you need modularity, MOLLE compatibility, and rapid external access for mission-specific gear.
Think about daily visibility and expected encounters; you should weigh concealability against organization, since tactical rigs offer expansion at the cost of drawing attention in populated areas.
Balance comfort and functionality by loading each style with your typical kit; you should test how attachments affect carry posture and whether the external pouches interfere with movement or snag on surroundings.
Optimizing Internal Layout for Rapid Access
Organize your go bag into functional zones-medical, shelter, hydration, tools, and food-so you can reach the right section without digging through everything.
Prioritize the front and top pockets for items you’ll need first, like a headlamp, multitool, and a compact first-aid kit, so you save time under stress.
Utilizing Modular Pouches and Dividers
Use labeled modular pouches to swap gear quickly for different outings and to keep small items contained and visible.
Arrange foam or fabric dividers to create snug spaces that prevent shifting and let you extract items with one hand.
Strategic Placement of Emergency Essentials
Place life-saving items such as your primary first-aid kit, whistle, and personal medications in an easily reachable pocket or a shoulder-mounted pouch.
Keep heavier items low and against your spine to maintain balance while placing lighter, frequently used crucials near openings for fast access.
Rotate contents monthly to replace expired meds, recharge batteries, and adjust for seasonal needs so you always grab reliable gear when time matters.
Expert Tips for Long-Term Carry and Ergonomics
Pack heavier items low and close to your spine to reduce strain and maintain balance; you should spread quick-access items to avoid twisting and use compression straps to tighten the load.
- Align hip belt to sit on your iliac crest so your hips take the load.
- Use load lifters to pull weight toward your shoulders and improve posture.
- Distribute gear by frequency of use so you avoid repeated shoulder rotation.
Knowing how your pack feels after an hour guides adjustments, so you log pressure points, tweak straps, and redistribute contents during practice carries.
Adjusting Suspension Systems for Weight Distribution
Adjust the hip belt so it transfers most load to your pelvis, then tighten shoulder straps to stabilize without lifting the belt off your hips; you should feel support, not constriction.
Test adjustments over mixed terrain and incrementally add or remove padding until the weight sits centered; you can mark strap positions for repeatable setup.
Enhancing Breathability and Physical Comfort
Choose a pack with ventilated back panels, mesh channels, and breathable straps to reduce sweat accumulation, and you should pair it with moisture-wicking layers for longer trips.
Wear the pack during training hikes and adjust padding placement to eliminate hot spots, then tweak tension to prevent chafing while preserving stability for long carries.
Layer clothing strategically and carry removable liners so you can vent the pack or add insulation on the move; you should also open vents or shed shells during moderate exertion to boost airflow and comfort.
Validation and Maintenance of Your Gear
Inspection routines should include a full gear check after each extended use; you need to examine seams, zippers, straps, buckles, and fabric for abrasion, corrosion, or weakened stitching. Replace or repair items that show wear, and test closures under load to confirm they hold.
Document maintenance actions in a simple log, noting dates, fixes, and parts replaced so you can predict when components will fail and budget for spares. Store the bag in a cool, dry place and treat materials according to manufacturer care instructions to extend service life.
Conducting Load-Bearing Field Tests
Test your packed go bag on short hikes and simulated evacuations, carrying realistic weights and configuring straps as you would in an emergency. Observe fit, pressure points, and whether the bag shifts; adjust load distribution and swap items until you can move comfortably for extended periods.
Implementing a Regular Gear Rotation Schedule
Rotate consumables and perishables on a fixed timetable so food, water, and batteries remain fresh when you need them. Keep dated lists and use a first-in, first-out approach so you avoid expired supplies during an emergency.
Schedule seasonal inspections to account for climate effects: check waterproofing before wet seasons and replace insulation ahead of cold months; log these checks and set reminders so you maintain readiness without guesswork.
Summing up
You should pick a go bag that reflects your daily routines and local hazards. Prioritize capacity and gear that fit your mobility, climate, and likely emergencies; choose durable materials, weather-appropriate clothing, multipurpose tools, and a manageable weight. Review and tailor contents seasonally and practice carrying it so you can access imperatives quickly when needed.
FAQ
Q: How do I determine the right go bag contents based on likely threats where I live?
A: Start by making a short list of the most likely local threats such as earthquakes, floods, hurricanes, wildfires, winter storms, or civil unrest. Match supplies to those threats: water (aim for one gallon per person per day for at least 72 hours), nonperishable food with a 72-hour calorie goal, basic shelter and warmth (emergency blanket, rain jacket), reliable light and communication (headlamp, spare batteries, charged power bank), multi-tool and cordage, and a well-stocked first-aid kit. Add specialty items for pets, infants, or mobility needs. Prioritize items that meet immediate survival needs first, then add comfort and convenience items if weight and space allow.
Q: What size and carry style should I choose for daily life versus a long-distance evacuation?
A: Match bag volume to mission: a compact 10-20 L pack works for daily urban grab-and-go needs, a 20-35 L pack covers a short evacuation or commuter use, and a 35-50+ L pack suits longer displacements or vehicle stashes. Keep loaded weight under roughly 20-25% of your body weight when possible to maintain mobility. Choose features that fit your routines: low-profile designs for discreet urban carry, aggressive frames and hip belts for heavier loads, and vehicle-friendly cases for a larger set of supplies. Test-fit the pack while loaded to confirm comfort and access to frequently used items.
Q: How should I tailor a go bag for climate and terrain?
A: Tailor clothing and shelter to local weather conditions. In hot climates include a hydration system, sun protection, breathable clothing, and electrolytes. In cold climates pack insulated layers, a sleeping bag rated for expected lows, a compact stove for melting snow, and hand warmers. In wet environments use waterproof bags and dry sacks, plus quick-drying clothing. For mountainous or snowy terrain add traction aids, a reliable map and compass, and extra warm layers. Urban bags should emphasize dust masks, sturdy gloves, cash, and compact tools for getting through debris or public-transit disruptions. Rural bags should include extra water treatment, a long-range map, and tools appropriate for off-grid travel.
Q: What are the best practices for medications, documents, and special needs items?
A: Keep prescription meds in original containers when possible, plus a written list of drug names, dosages, prescribing doctor, and pharmacy contact. Include a small supply of over-the-counter pain relief and allergy medication. Store photocopies or scans of identification, insurance cards, emergency contacts, and medical records on a secure USB and in a cloud account protected by strong passwords. For children pack formula, diapers, and comfort items; for pets include food, a leash, and vaccination records. Consider temperature sensitivity of items and use insulated pouches or cold packs for medications that require cool storage.
Q: How often should I inspect and update my go bag and where should I store it?
A: Inspect the bag every six months and do a quick check of perishables monthly if the bag is kept ready. Rotate food and water before expiration dates, replace batteries and first-aid consumables, and update clothing for seasonal changes. Store the primary go bag in an accessible location near a main exit and keep a secondary kit in your vehicle or workplace if applicable. Label the bag with owner name and last-check date, and run a practice drill once or twice a year by carrying the loaded pack for at least a short walk to test fit and contents. Maintain a printed checklist inside the bag so anyone can verify contents quickly.